
Use this move out inspection checklist with a move in inspection checklist side by side. Record condition at the start of the lease and the end, then separate damage from normal wear.
Why your move in inspection checklist should match the move-out form
Disputes over deposits nearly always come down to one question: what condition was the unit in when the resident arrived? A move out checklist can only prove damage if a move-in checklist recorded the starting point.
The forms below use the same rooms and items, with columns for move-in condition, move-out condition and notes. Fill the first column at move-in, keep the form, and fill the next column at move-out. Complete the move in inspection checklist with the resident on key day, while every scuff and stain is still easy to point at. This is a general template, and deposit rules are set by state and local law. Nothing here is legal advice.
Print this page. The site prints cleanly, so the tables work as paper forms. Add the unit number, date, resident and inspector at the top.
Entry, living room and hallways
Use words, not just ticks: Clean, Scuffed, Stained, Torn, Chipped, Missing. A photo beats a description.
| Room and item | Move-in condition | Move-out condition | Damage or charge notes |
|---|---|---|---|
| Entry door, lock and keys (count keys) | |||
| Walls and ceiling | |||
| Flooring or carpet | |||
| Windows, locks, screens and blinds | |||
| Lights, switches and outlets | |||
| Smoke and carbon monoxide alarms | |||
| Closet doors and shelving | |||
| Thermostat and vents |
Kitchen
| Room and item | Move-in condition | Move-out condition | Damage or charge notes |
|---|---|---|---|
| Range, burners, drip pans, oven interior | |||
| Refrigerator, shelves and drawers | |||
| Dishwasher and disposal | |||
| Microwave | |||
| Sink, faucet and drain | |||
| Cabinets, drawers and hardware | |||
| Countertops and backsplash | |||
| Floor and walls behind appliances |
Bathrooms
| Room and item | Move-in condition | Move-out condition | Damage or charge notes |
|---|---|---|---|
| Toilet and seat | |||
| Tub or shower, tile and caulk | |||
| Sink, vanity and faucet | |||
| Mirror, towel bars, paper holder | |||
| Vent fan | |||
| Floor and walls |
Bedrooms, patio and extras
| Room and item | Move-in condition | Move-out condition | Damage or charge notes |
|---|---|---|---|
| Walls, ceiling and paint | |||
| Floor or carpet | |||
| Windows, blinds and screens | |||
| Closet | |||
| Patio or balcony, rail and slider | |||
| Washer, dryer and hookups | |||
| Storage or garage | |||
| Mailbox and parking |
How to use the move out inspection checklist
The sequence is the same for a single rental or a large community.
1. Pre-inspect before move-out
The NAA recommends a pre-move-out inspection once the resident gives notice, ideally within a week, so you can order parts and schedule trades before the unit is empty. Some states give the resident a right to one.
2. Walk after the resident leaves
With the unit empty, go room by room with the move-in form. Photograph each room, then each defect.
3. Sort damage from wear
Compare to move-in. Decide what is normal wear and tear and what is damage. See our guide to normal wear and tear.
4. Price the damage
Use real repair costs, receipts and the age and expected life of the item. The move-out charge calculator prorates a charge from age, lifespan and condition.
5. Send the itemized statement
Meet your state’s deadline and format, and keep the photos and invoices.
Damage versus normal wear and tear
Normal wear and tear is the gradual deterioration from ordinary living: faded paint, light carpet traffic marks, small nail holes, worn finishes. Damage is something beyond that: large holes, pet stains, burns, broken fixtures or missing items. Where the line sits depends on the item’s age, how long the resident lived there and local law.
A proration approach helps. A resident who burns a three-year-old carpet with a ten-year expected life owes a share of the replacement, not the whole cost. The prorate calculator report does this per item from age, lifespan and condition.
Deposit timing varies by state
Every state sets its own deadline for returning a deposit or sending an itemized list of deductions. As one example, a California legal aid guide says the landlord must return the deposit or mail an itemized list of deductions within 21 days of move-out, may deduct only for unpaid rent, damage beyond normal wear and tear and reasonable cleaning, and must supply receipts when deductions exceed $125. It also says a resident can request a pre-move-out inspection in the last two weeks of the tenancy.
Those are California’s rules. Yours may differ, so confirm the deadline, the format and the allowed deductions for your state and city.
Run move-in and move-out inspections in Invendoory
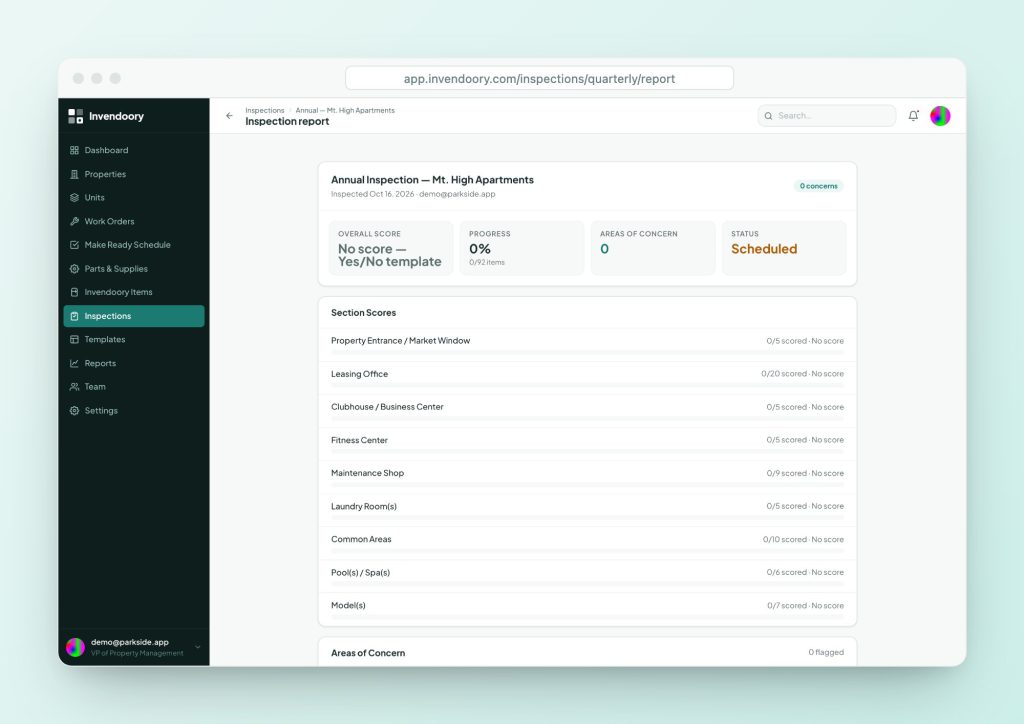
Build the forms above as an inspection template, with sections scoped to vacant or occupied units and yes/no, score, count or text answers. Mark items photo required to put a badge on them; photos carry capture timestamps. The app’s Quick unit check is a ready 30-item pass/fail starting point.
A failed item raises an area of concern, which becomes a work order or turn task in one step. For charges, the inspector records a chargeback against the failed item: resident or vendor, name, amount and notes. Every chargeback is audited and locked after 30 days, so the record holds. Invendoory records the charge; it does not bill the resident. The inspector and the community manager both sign, then a manager submits.
- Photo-required items and timestamped photos
- Chargeback records with audit trail
- Two sign-offs, then submit
Then move straight into the make ready
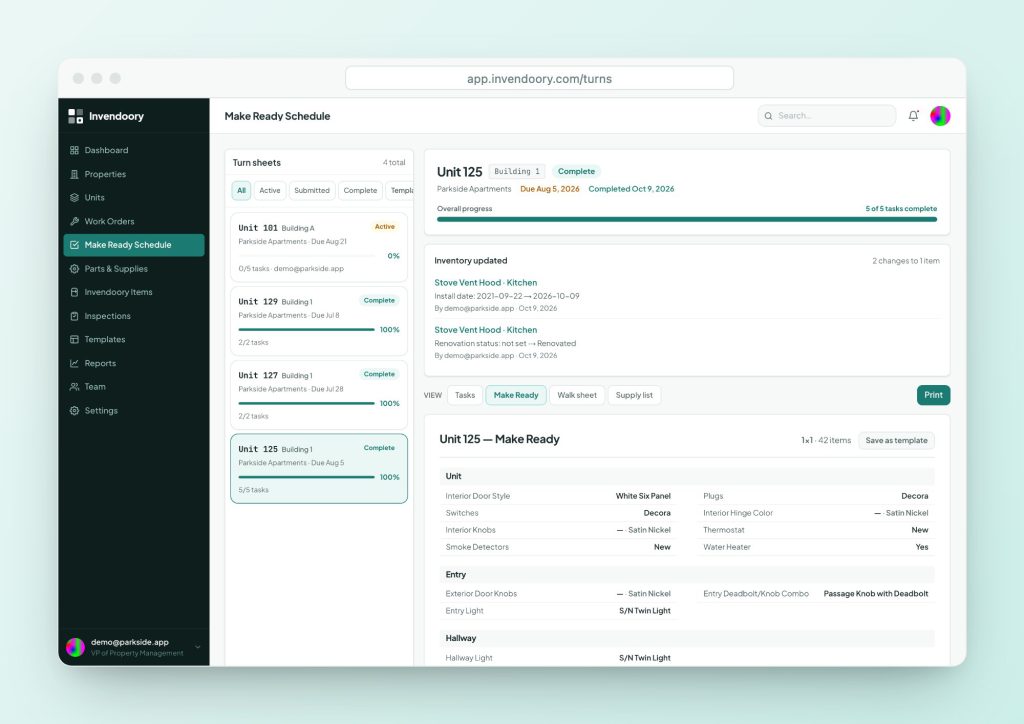
A move-out inspection produces the list of work for the turn. In Invendoory, the concerns from the inspection become tasks on a turn sheet for that unit, assigned to techs with a due date. The same checklist feeds the apartment make ready checklist.
When the turn is verified, replaced appliances and finishes are written into the unit’s inventory, so the next move-in form starts from an accurate record.
Questions people ask
What should a move out inspection checklist include?
Every room and item from the move-in form: walls, floors, windows, doors, fixtures, appliances and keys. Include columns for move-in condition, move-out condition and notes, plus space for photos and signatures.
What is the difference between a move in inspection checklist and a move out one?
They use the same items. The move-in form records the starting condition. The move-out form records the ending condition and flags damage beyond normal wear. Using one layout for both makes comparisons easy.
Does the resident have to attend the move-out inspection?
Rules differ by state and lease. Many operators invite the resident and note it on the form. Some states let residents request a pre-move-out inspection. Check your local rules.
What counts as normal wear and tear?
Gradual deterioration from ordinary use, such as faded paint or light carpet wear. Damage goes beyond that, such as large holes, burns or pet stains. See the normal wear and tear guide for examples.
How do I calculate a fair charge for damage?
Start with replacement cost, then prorate by the item’s age and expected life and adjust for condition. The move-out charge calculator on this site does that calculation for common items.
Can I use a move-out checklist as the deposit record?
It is the core evidence, with photos, invoices and the move-in form. The statement you send must follow your state’s format and deadline. Ask an attorney if you are unsure.
Sources
Checked October 2026.